 Skip to content

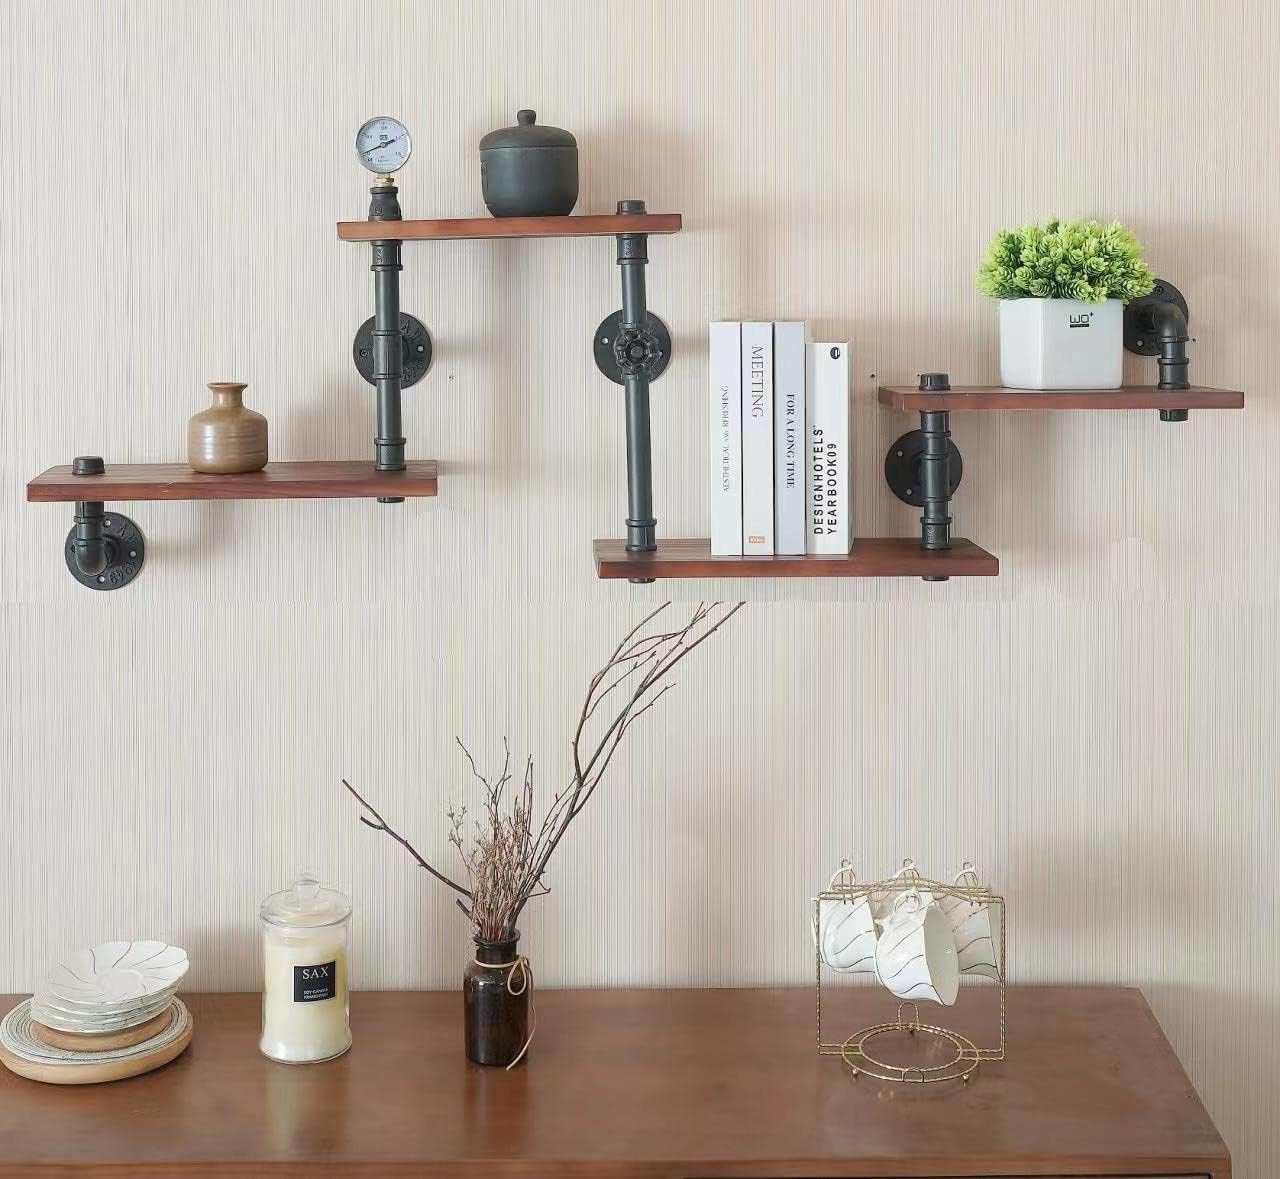

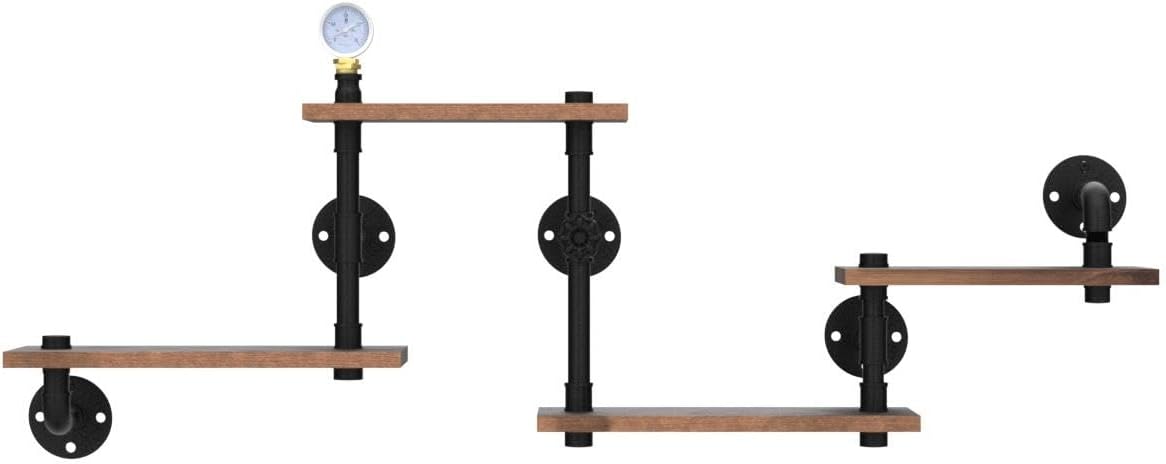

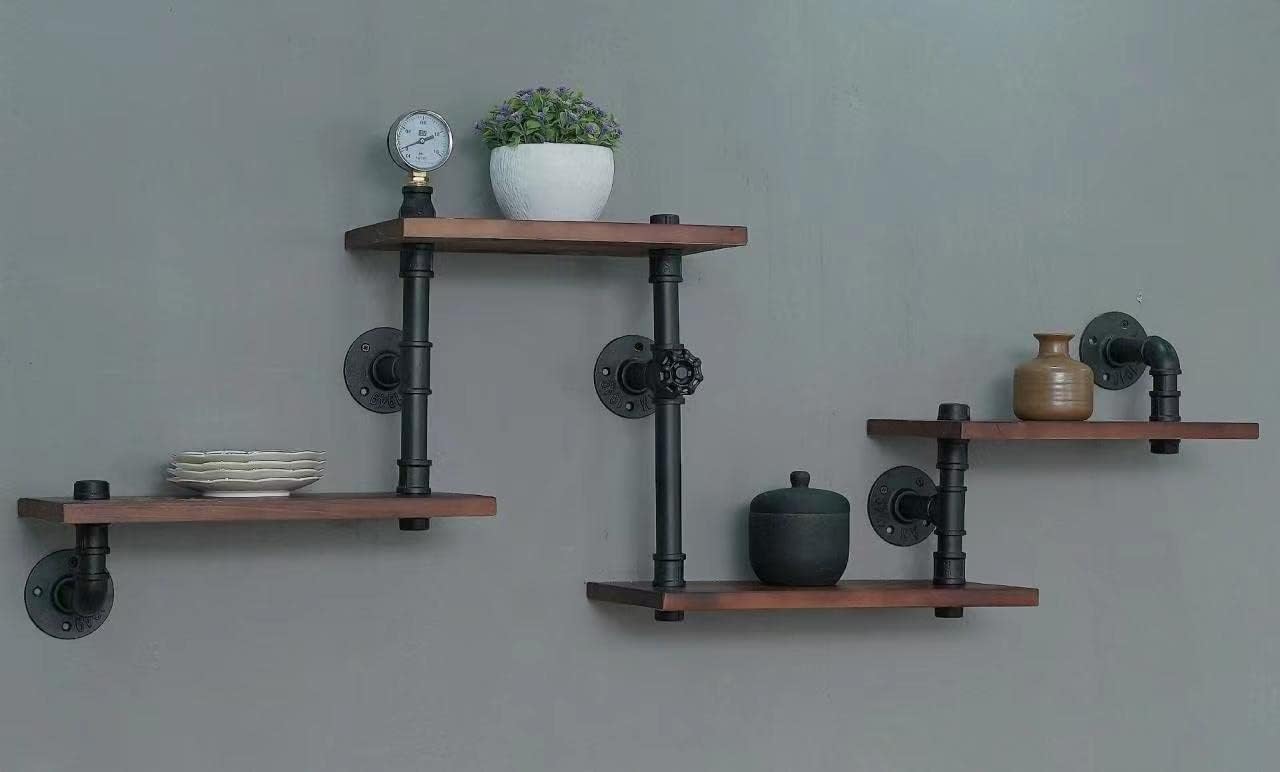
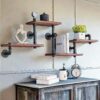


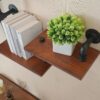
Enhanced-edition DIY Wall Pipe Shelf
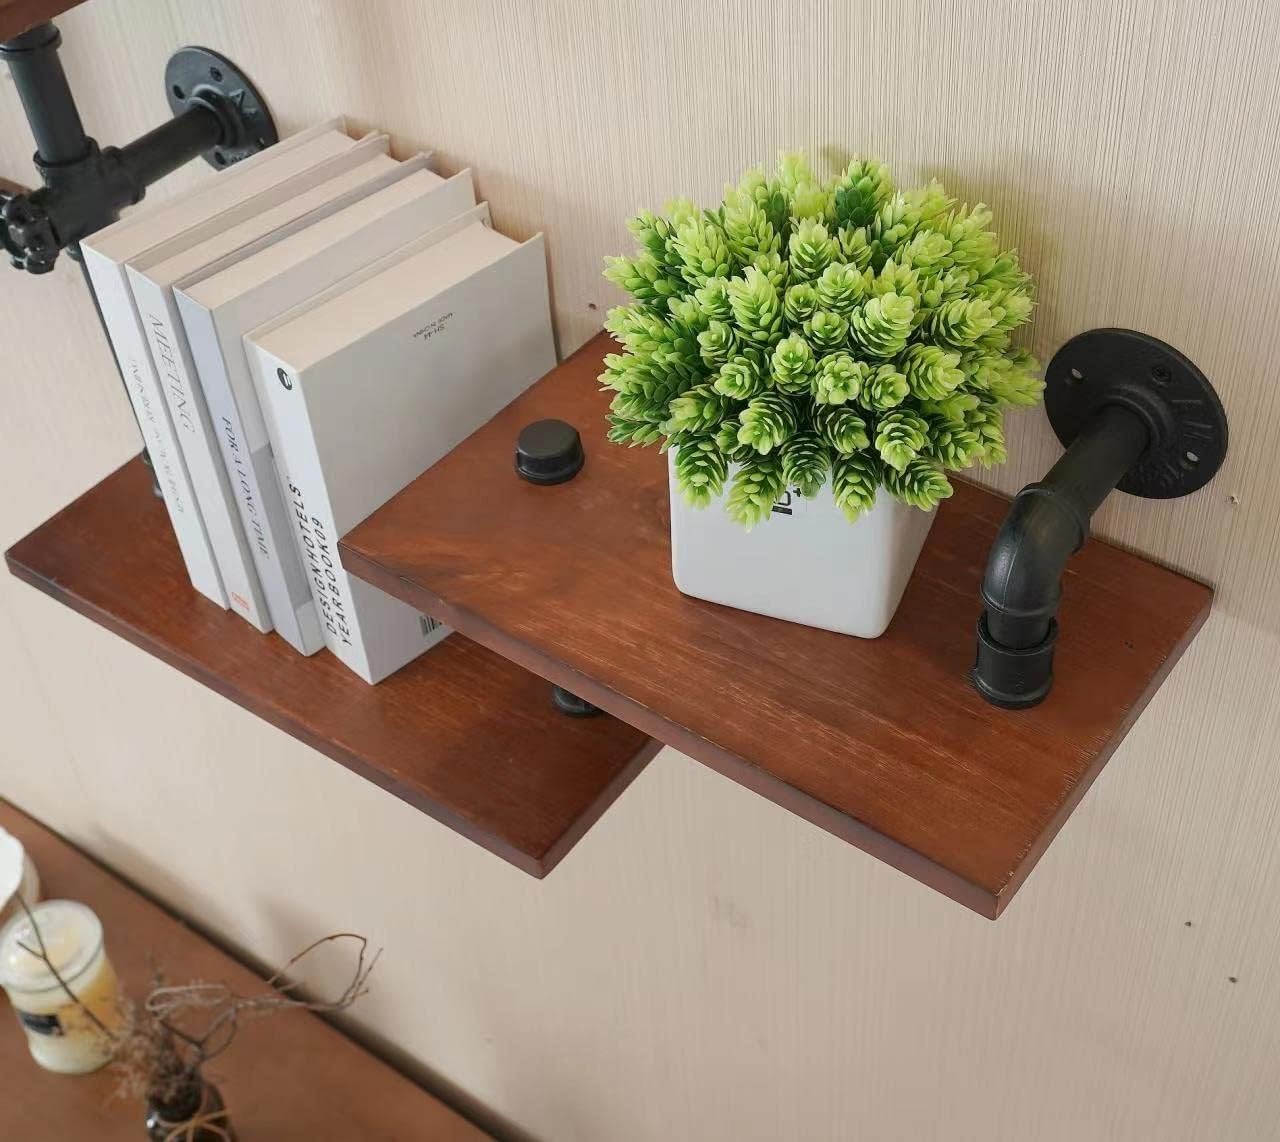
This Wall Shelf is terrific for anyone looking for an original storage solution for their home. This contemporary shelving unit features a sturdy black finish metal pipe frame, brilliantly accented by four solid wood shelves. This combination of materials is a testament to reliability, assuring the piece’s durability without compromising on its modern industrial aesthetic quality. Easy to install and stylish, excellent piece to have in the living room, but is versatile enough to fit in just about any room of the house.
PRODUCT SPECIFICATION
Materials: solid wood + metal pipe.
Finish: Rustic Natural Wood + Black Frame.
Product size: 7.87″D x 51.19″W x 26.39″H.
Each tier weight capacity: 150lbs.
Primary material: Solid Wood.
Packing quantity: 1pcs 4-tier wall shelves.
Assembly and installation required: Yes. easy to assemble and install.
Tools needed for assembly: Please use electric electric-drill. We suggest two persons to handle it.
AFTER-SERVICE POLICY
30-days money back guarantee and 12-month limited warranty. If you have any problems please feel free to directly contact with us. Our professional customer service team will offer a satisfied.


E. Swyne –
Sturdy and great looking
Great product! The auger bit is a little tricky to work with because it is so long. The drill guide broke while I was drilling the second hole. I contacted Crafterspirit and they sent a replacement immediately. I would suggest using the drill guide to start the first 2 to 3 inches of the hole and then remove it and finish the rest without it. The hole will be deep enough to guide the drill bit on its own and you will also prolong the life of the guide.
HayherderHayherder –
Really good, especially for 2″ thick shelves
I looked at a lot of these brackets to try and find the right one for my daughter’s “floating” shelves. I bought the 8″ variety for 10.5″ deep shelves. Looks like I’m the first reviewer that isn’t a free vine customer (i.e. – first real review). TLDR: while more expensive than similar items, I found it worth it due to precise machining, 1.5″ tall drill guide, included 8″ auger bit, and especially b/c two screws dead center in the stud (with L/R maneuverability).What I liked:– 2 screws, dead-center on the wall stud. Many of the options had all 4 holes on the edges of the bracket. With this being 1.5″ diameter, and the wall studs being 1.5″ on edge, you would not have good hold putting 4 screws on the very edge of the wall studs. But 2 dead center? Perfect. There are 2 other holes in these, but I did not use for the same reason. You’ll notice the 2 at top and bottom allow for slide left and right. This can be VERY helpful when getting several brackets lined up to go in the back of the wood 8″ deep.– As seen in my first picture, the brackets all line up; the accuracy of each is square and similar. this is key when stuffing multiples in to the wood– the set comes with a good system to drill straight holes. In the 4th pic, you can see the drill guide which is placed inside the guide for boring out 1.5″ of wood to hide the brackets. I used the rectangular piece just to line up the center of the board (marked the center with pencil first), then put 2 screws in either side to hold it. Then put the drill guide (about 1.5″ tall) in the middle and screw it down as well (recommend drilling out the holes first).– Also supplied is an 8″ auger. It didn’t fit my 3/8″ dewalt corded drill, but it did fit my ryobi drill. Auger worked great. After drilling out the 8″ holes (you can go deeper, but it does have a mark for exactly 8″), then remove the drill guide.What I didn’t like:– supplied is a 1.5″ spade bit to bore out the wood so the brackets are recessed in the back, instead of the wood resting on them in the back by the wall. I guess you leave the rectangular metal piece on the wood, and then use the spade bit to bore out the wood. However, that doesn’t work b/c the fit is too tight and you can’t keep them from hitting one another (which almost caused some good injury to me). So, I used it to just draw the circle, and then I used a router to trim out what I needed to. You might be able to mark the circle and use the supplied space bit.– Price. This is more expensive than many other similar options.
6 people found this helpful
Matt –
Great kit with strong holds
Strong and fun to put together! Was able to hang off of the edge of the 20lb walnut live edge shelf I had made without it budging at 185lbs. Only needed the two 4” bars.Take your time and use a corded drill if possible. To keep it locked against the wall, I put a tiny strip of mounting tape around the brackets.
MarkMark –
Good quality, requires some tool knowledge
I’m happy with the brackets overall. They are built well. The fact that the kit comes with the auger and spade drill bits is a benefit if you don’t have them already.All of the mounting guides worked as designed and made the drilling process easier. But there are a couple of things that someone unfamiliar with using these drill bits should know.First, the drilling instructions are backwards, in my opinion. These instructions call for drilling the auger hole first, that hole should be drilled after drilling with the paddle bit. The reason is that when you drill the auger hole first, it is very difficult to align the center of the paddle bit. Yes, the metal drilling guide is helpful but if you catch the edge of the guide with the paddle bit, you can cause slipping and injury. If you use the paddle bit FIRST, it will leave a center hole for the auger bit to fit into. Either way, ALWAYS USE THE METAL HOLE DRILLING GUIDES.Second, when you use an auger bit you should always drill in an inch or two, then back out of the hole to allow the wood dust to come off of the bit, then drill again, until you reach your depth. Though auger bits are designed to pull the wood dust up and out, it doesn’t always work, especially if the wood has a high moisture content (because the dust will tend to get “muddy” or hard and stick to the drill bit). This process makes drilling the hole much easier AND it will save your drill motor from overheating.Third, BEFORE you drill the mounting holes, locate the studs in the wall. My shelves are mounted to the wall offset (meaning that the edge of one shelf will be 12″ from the wall and the other shelf will be 18″ from the wall). Because of this, the mounting brackets had to be at different lengths on the back of the wood shelves. (See pictures). The brackets need to mount to the studs for strength.
5 people found this helpful
BanksBanks –
Don’t mount on top of Sheetrock
Great kit, comes with everything you’ll need. I would not recommend screwing them into the Sheetrock as Sheetrock can compress and come apart. If your shelves and what you are placing on them will be heavy, I’d use the included drill bit to cut a perfect hole in the Sheetrock to screw the brackets directly into the stud. You can then fill in the hole with spackle. That also prevents you from having to drill a disk hole into your shelves to hide the base of the bracket. Further, that allows you to also have shelves that are thinner than 2”.
2 people found this helpful
Amazon Customer –
Allows mounting into the stud!!
Worked perfect for butcher block shelves. But you have to be spot on, or the bracket will end up extending ever so slightly past the edge of the shelf. A think shelf and the brackets will definitely be visible. The bracket has to oval slots for screws that allow minute adjustment when hanging the shelf. The mounting holes also mounting directly into a stud if you put the screws in on the top and bottom of the bar. That is a big plus when compared to so many other options.
Beazle –
Heavy duty brackets for floating shelves
Excellent quality replacement brackets for floating shelves. Original brackets could not support the weight of audio equipment. These brackets are heavy duty.
MAUITTOMAUITTO –
Perfec!
Perfect! Sturdy and easy to install.We bought them for butchers block shelves with are very heavy. Three per shelf and worked fantastically.The box came with all the bits needed for installation. We just used our drill.